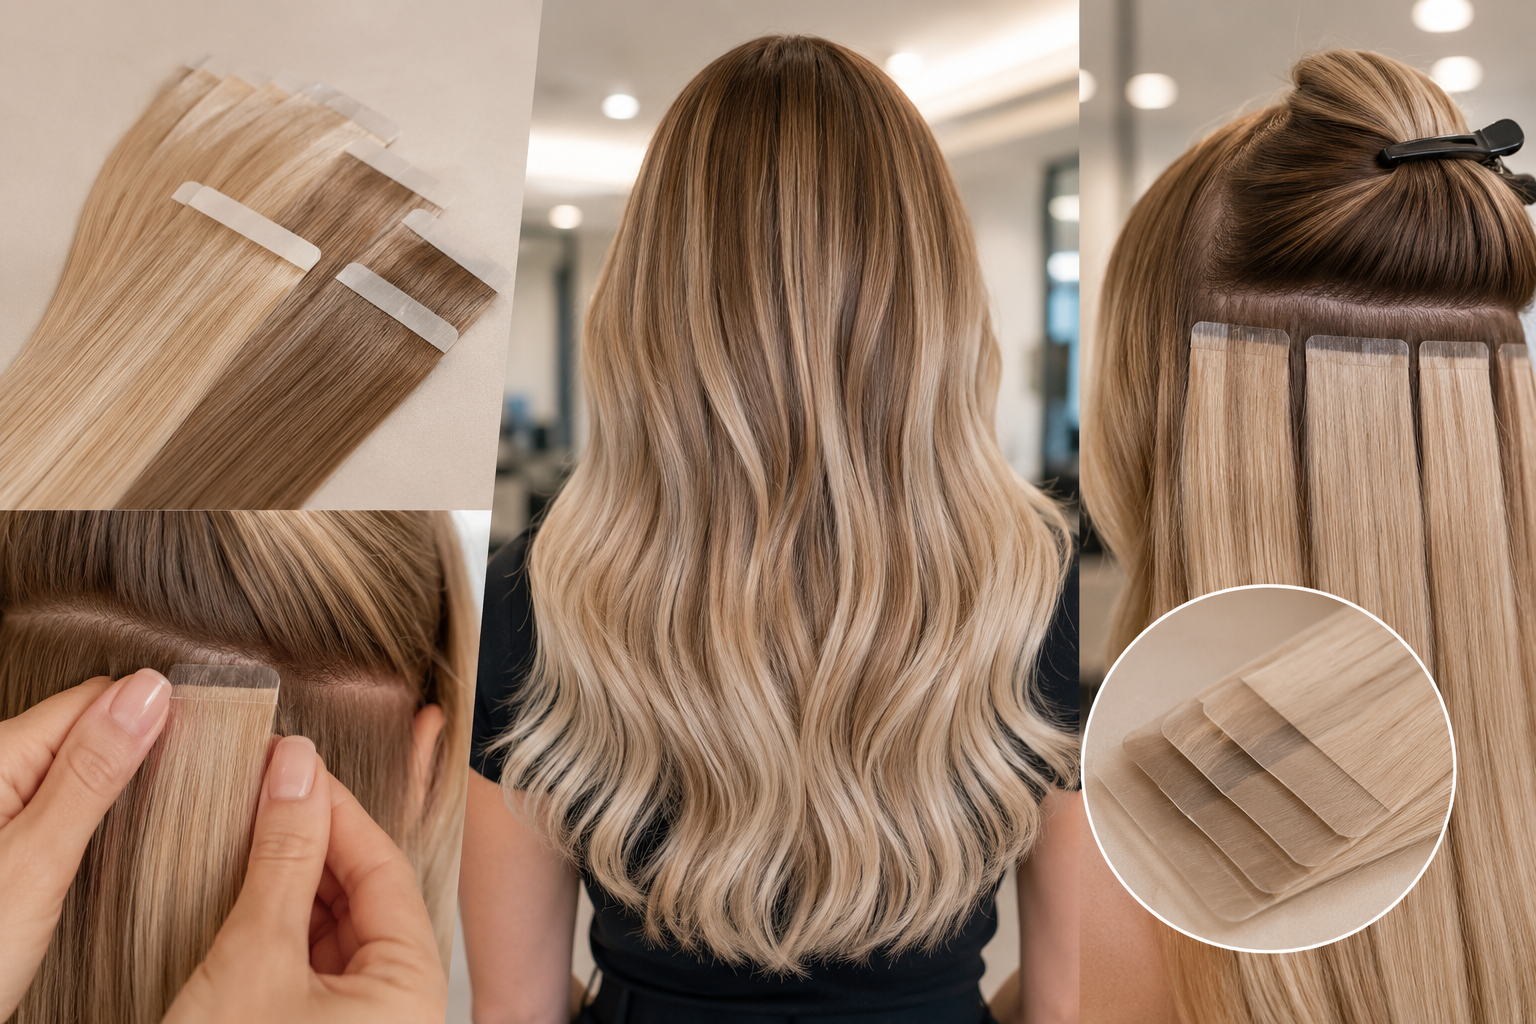
Whether you want to instantly add volume, rock wavy raw human hair extensions, or achieve a sleek, high-impact straight look, premium clip-ins are the ultimate beauty cheat code.
But let’s be real—many girls notice their extensions becoming dry, frizzy, or tangled like a nest after just a few wears. Since hair extensions don't have follicles to absorb the natural oils from your scalp, they need a little extra love and care.
Today, we are tackling the 5 most common maintenance blunders with a simple, high-value, 5-step routine to keep your extensions looking salon-fresh, luxurious, and completely natural!
1. Can You Blow-Dry Clip-In Hair Extensions?
The short answer: Yes, but it depends entirely on the material, and you must control the temperature!
-
100% Remy Human Hair: You can absolutely use a blow dryer. However, never use the highest heat setting! Always opt for cool air or a low-temperature warm breeze.
-
Synthetic/Memory Hair: Unless the packaging explicitly states "heat-resistant up to 180°C," never use a blow dryer. High temperatures will melt, deform, or singe synthetic fibers in seconds.
💡 Pro Technique: After washing, gently press the hair strands with a microfiber towel to absorb excess moisture (never rub or wring them). Hold the blow dryer at least 15–20 cm away, and blow downward from the roots to the ends—following the natural direction of the hair cuticles to lock in shine. Once it is about 70-80% dry, letting it air dry naturally yields the best results. (For a detailed step-by-step breakdown, feel free to check out our other blog post!)
2. How to Correctly Install Clip-In Extensions?
Installing clip-ins is incredibly easy and takes just a few minutes once you get the hang of it. However, the technique varies slightly depending on the specific style you choose.
On our website, we offer four premium clip-in styles tailored to match your exact styling needs:
-
The One-Piece Volumizer (Single Weft): Perfect for a quick, seamless volume boost across the back of your head—ideal as invisible hair extensions for thin hair.
-
The Romantic Wavy Clip-Ins: Designed to blend effortlessly with naturally textured, curled, or blowout styles.
-
The Multi-Piece Set: Offers varied weft widths to strategically place around your head for maximum fullness and length. (Not sure how to choose the right one? Check out our dedicated buying guide blog!)
-
The High-Density Straight Weft: Gives you an ultra-sleek, polished, and premium look from root to tip.
Regardless of which style you choose, the golden rule of installation is to create friction. Many girls complain about extensions slipping because their natural hair is too silky. Section your hair, lightly backcomb (tease) the roots where the clips will sit, or spray a tiny bit of texturizing spray to give the clips a secure grip.
🎬 Struggling to blend them perfectly with your natural hair? We’ve got you covered! Watch our [Step-by-Step Clip-In Installation Video] to see exactly how professional stylists section, secure, and hide the wefts!
3. What to Do If Your Extensions Are Tangled? Never Tug!
When you notice knots, ripping a brush through the hair will snap the strands and ruin the delicate lace or silicone weft holding them together.
-
Step 1: Apply a Lubricant. Mist the tangled area with a leave-in detangling spray for extensions or a small amount of conditioner diluted with water to add slip to the strands.
-
Step 2: Sectional Reverse Brushing. Grab a wide-tooth comb or a paddle brush (a specialized loop brush works best). Always follow the "bottom-up" rule: start detangling at the very tips of the hair. Once the ends are smooth, move up a few inches to the mid-lengths, and finally comb smoothly from the roots down.
-
Step 3: Use Your Fingers. For stubborn, tight knots, gently tease the strands apart with your fingers before bringing the comb back in.
4. How to Wash and Maintain Frequently Worn Extensions?
Frequent wear means your extensions absorb dust, environmental pollutants, and styling products like hairspray. Generally, they need a wash after every 10–15 wears. (For a deep-dive SPA tutorial, check out our detailed care blog).
-
Gentle Washing: Fill a basin with lukewarm or cool water and mix in a sulfate-free, hydrating shampoo. Submerge the extensions and gently press and stroke down the hair (treat it like washing a luxury cashmere sweater). Never scrub or rub the hair in circles.
-
Load Up on Hair Masks: After rinsing, apply a generous amount of a deeply moisturizing conditioner or deep repair hair mask. Distribute evenly and let it sit for 15–20 minutes before rinsing. This step is vital to keep the hair radiant.
-
Daily Maintenance: Before and after every use, give your pieces a quick spritz of anti-static leave-in conditioner to ward off frizz and flyaways.
-
Proper Storage: When not in use, brush them smooth and store them flat in a dust-proof extension bag, or hang them on a dedicated extension hanger. Avoid tossing them into a cluttered drawer where they can get crushed and misshapen.
5. How to Safely Remove Clip-Ins for Reusability?
If you want your extensions to accompany you to every event—making them the perfect premium clip in hair extensions for wedding guest styles—proper removal is just as important as installation.
Locate the hair clip with your fingers and gently press the center outward until you hear a distinct "pop." Once the clip is completely open, gently slide it downward and out, following the natural drape of your hair. Never yank or pull the extensions horizontally while a clip is still partially engaged. Doing so can pull out your natural hair and stretch out the extension seams.

By mastering these 5 simple maintenance habits, your clip-in extensions won't just last a year longer—they will look incredibly bouncy, shiny, and flawless every single time you step out.
Ready to start your hair transformation? Explore our [Premium Clip-In Collection] today to find your perfect match!